¶ Color Replacement
Replace a color with another color according to the settings.

Select a screen from the project list and then select Processing.
Set the Color Replacement switch to on.
Set the colors before and after replacement.
- Method 1: Click the color area to open the color palette and set a color.
- Method 2: Click the eyedropper and select a color in the topology area.
Set Hue Tolerance, Hue Softness, Shadow Strength, and Skin Tone Protect.
- Hue Tolerance: Indicates the hue range of the color to be replaced. The larger the value, the larger the replacement area.
- Hue Softness: Indicates the hue softness of the transition area.
- Shadow Strength: Indicates the gradient parameter of the highlight or shadow area. The larger the value, the smoother the gradient.
- Skin Tone Protect: Keeps the skin tone as original as possible.
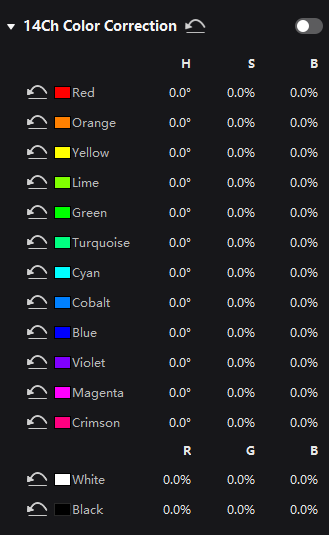
¶ 14Ch Color Correction
Precisely adjust the hue, saturation and brightness of black, white, and the 12 derived standard colors of the red, green and blue primary colors.
Select a screen from the project list and then select Processing.
Set the 14h Color Correction switch to on.
Click a value of a color to enable the editing status and change the value.
|
|
|
|
|
|
|
|
|
|
|
|
|
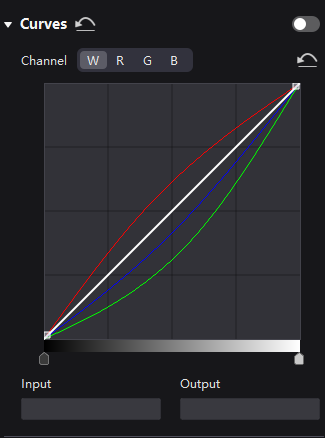
¶ Color Curves
This feature allows you to quickly adjust image brightness and color tone, customize the response curves for red, green, blue, and white, and fine-tune highlights and shadows independently. It ensures that highlights are not overexposed and that low-grey areas retain rich details. Additionally, you can use this feature to make precise tweaks to the screen display, compensating for variations due to ambient light or camera performance.
Select a screen from the project list and then select Processing.
Set the Curve switch to on.
Select the white, red, green, or blue channel.
Drag the slider at the bottom of the curve diagram to set the curve adjustment range.
Click anywhere on the curve to add an adjustment point and drag the point to adjust the curve.
Input and Output indicate the absolute coordinates of the adjustment point in the curve diagram.
To delete the adjustment point, drag the point outside the curve diagram, or select the point and press Delete.
Click the icon at the right of the Channel to reset the curve of the current channel. Click the icon next to Curves to reset all the curves.
¶ 3D LUT
A 3D Lookup Table file (.cube) defines a set of mappings that enable color adjustments in video sources. Widely used in film and image processing, it allows you to modify target colors without affecting neutral grays and other hues. This technique addresses blending and layering challenges to ensure smooth color transitions. It delivers a more accurate color representation by providing precise control over the entire three-dimensional color space.

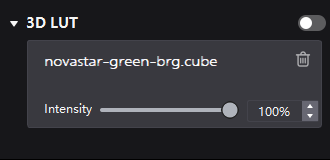
Select a screen from the project list and then select Processing.
Click anywhere in the Load 3DLUT File area, select a file, and open it.
Set the 3D LUT to on and drag the slider to adjust the applying level of the 3D LUT.
¶ Dynamic Booster
Dynamic Booster can significantly improve the display contrast and image details for a better visual experience and effectively control and lower the display power consumption. Need MX40 Pro+A10s Pro System to implement this function.
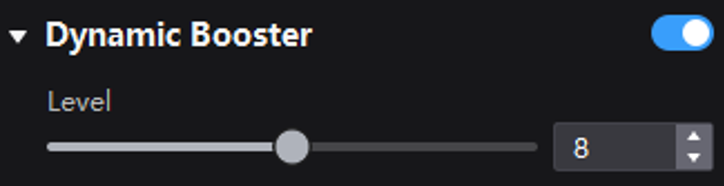
Select a screen from the project list and then select Processing.
Set the Dynamic Booster switch to on.
Drag the slider to adjust the applying level of the Dynamic Booster.
¶ Device Support
- KU20: No processing function
- MX20, MX30: 14Ch Color Correction
- MX40 Pro and CX40 Pro: Color Replacement, 14Ch Color Correction, Curve, 3D Lut, Dynamic Booster
- MX2000 Pro and MX6000 Pro: Color Replacement, 14Ch Color Correction, Curve, 3D Lut
We consistently enhance and refine the content of our Wiki articles.
If you find any mistakes or errors, please contact us.
Your continuous feedback and support will help us further improve our products and content.